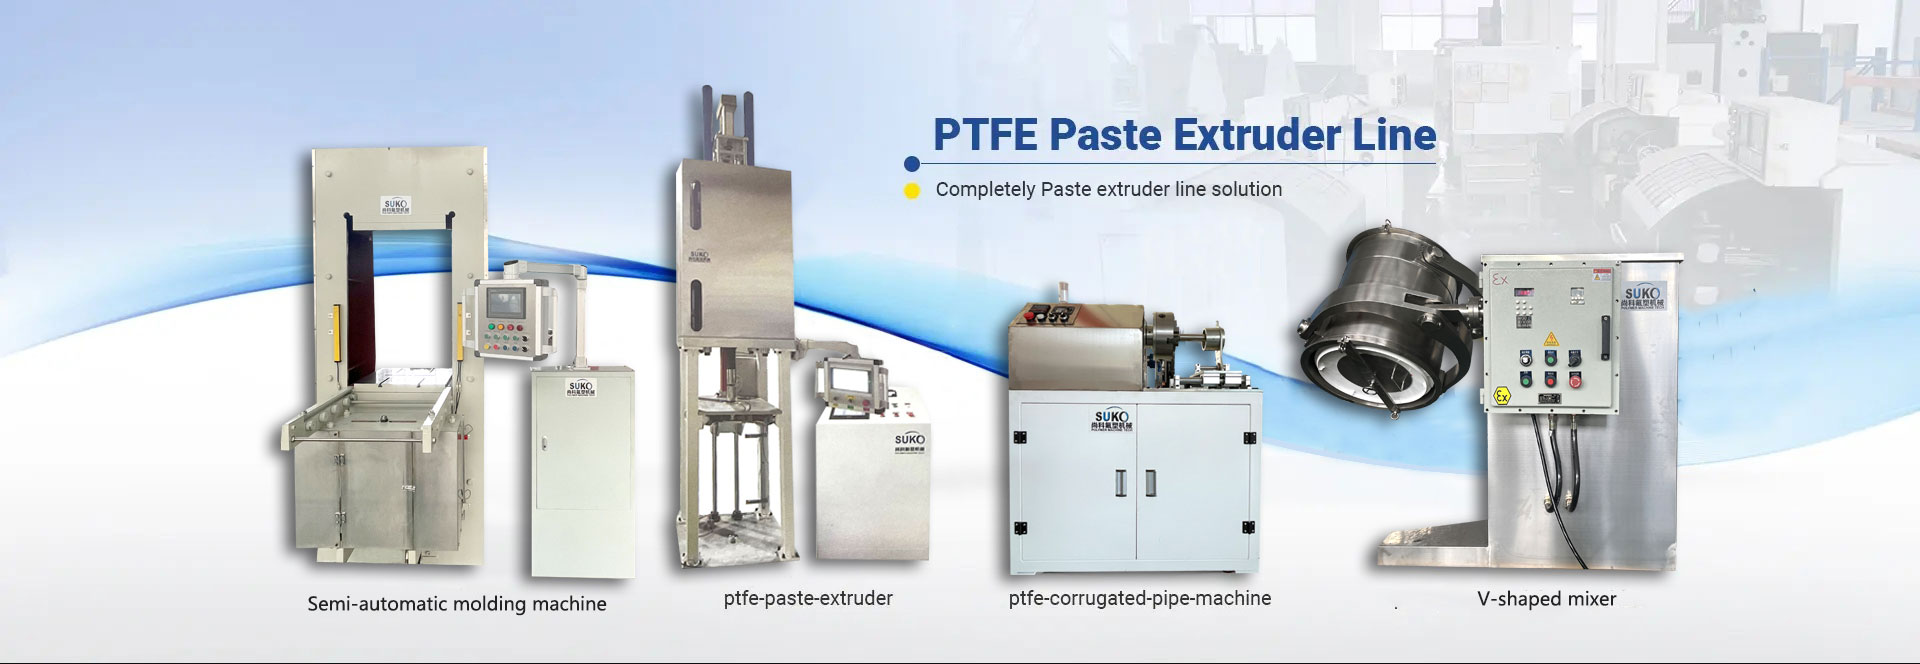
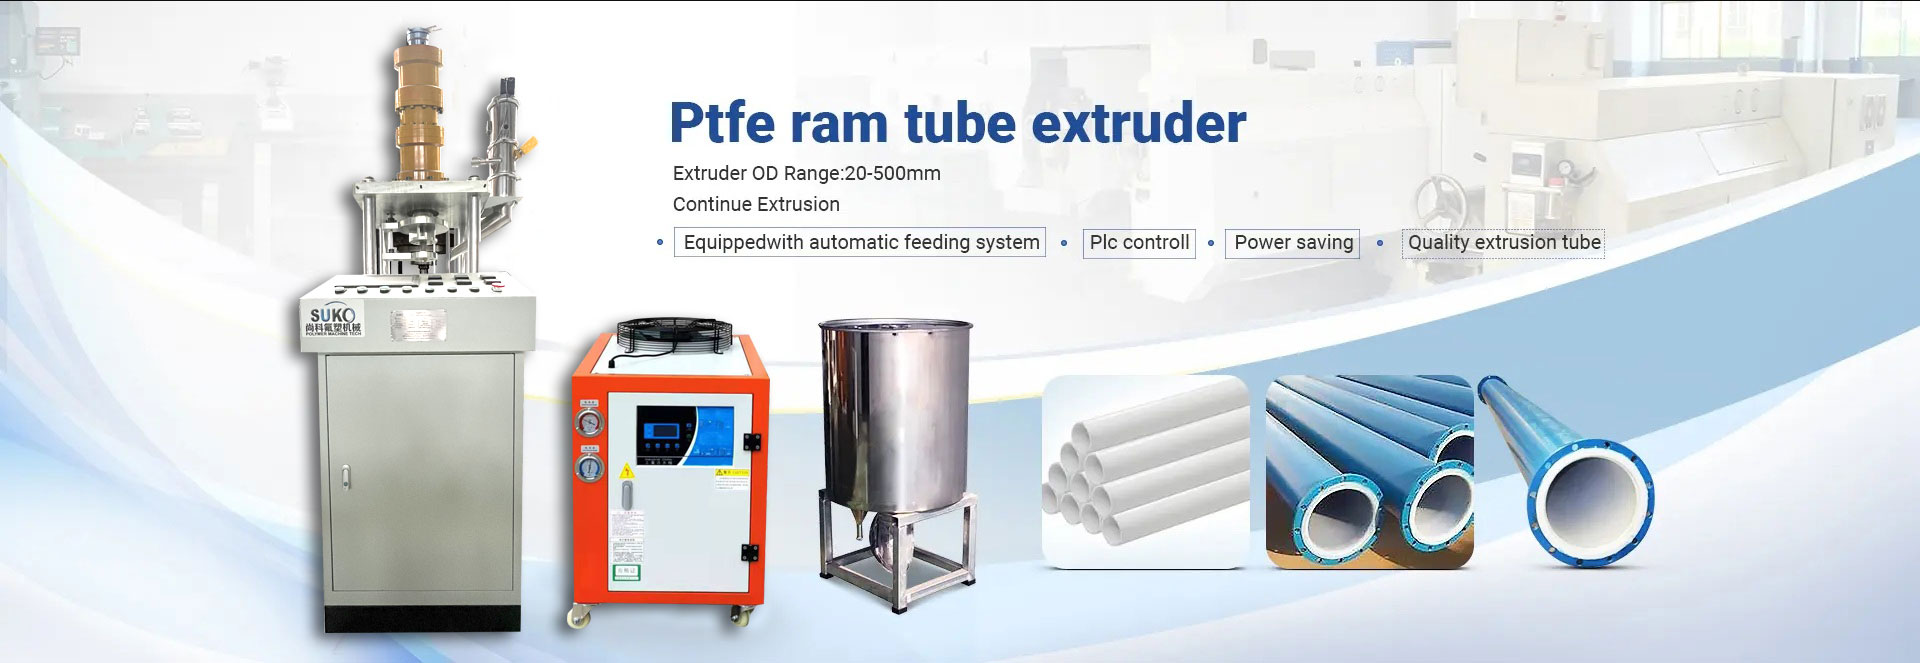
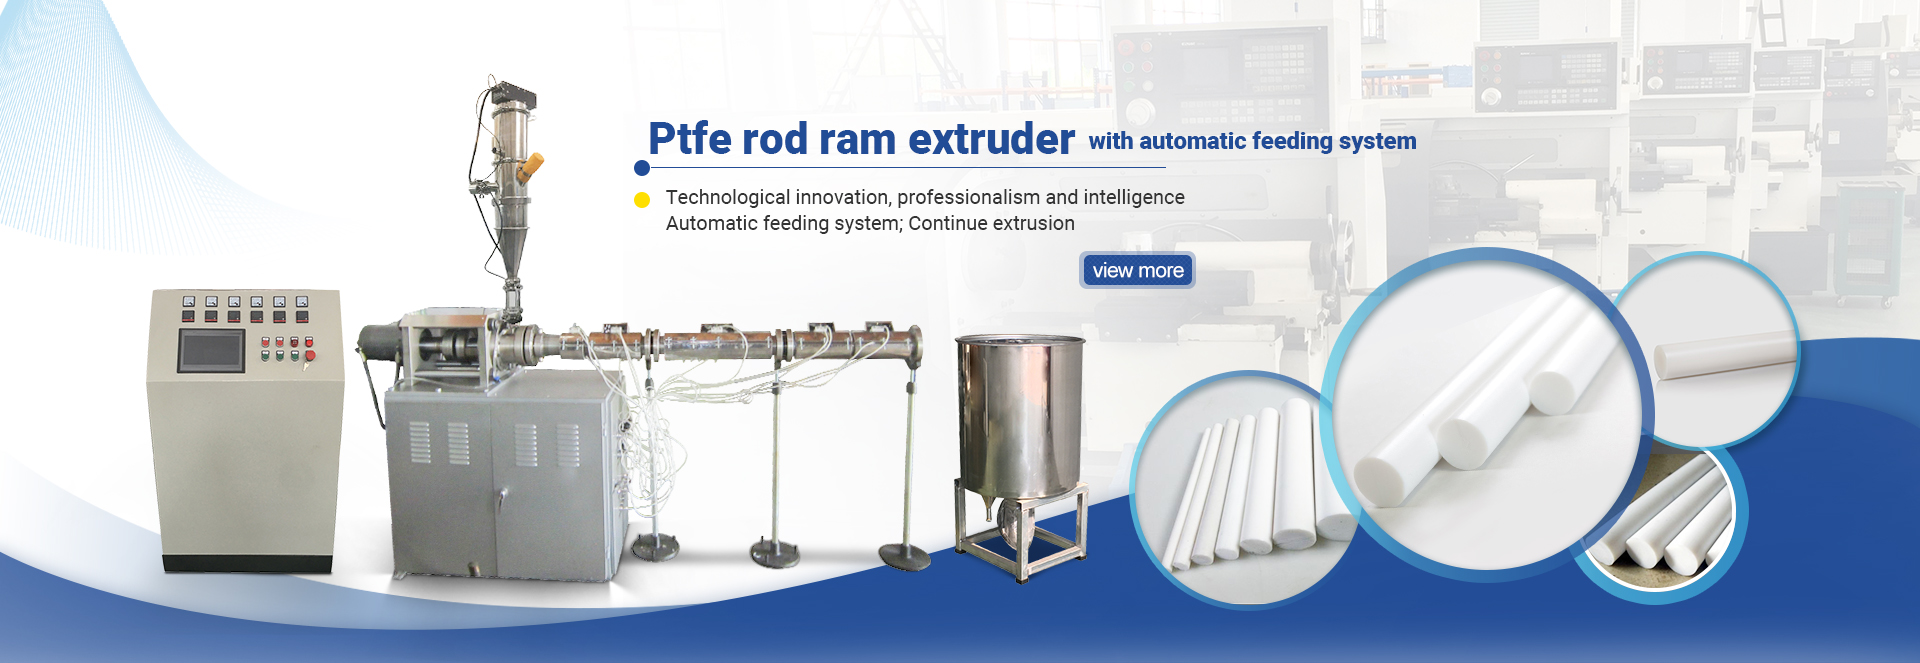
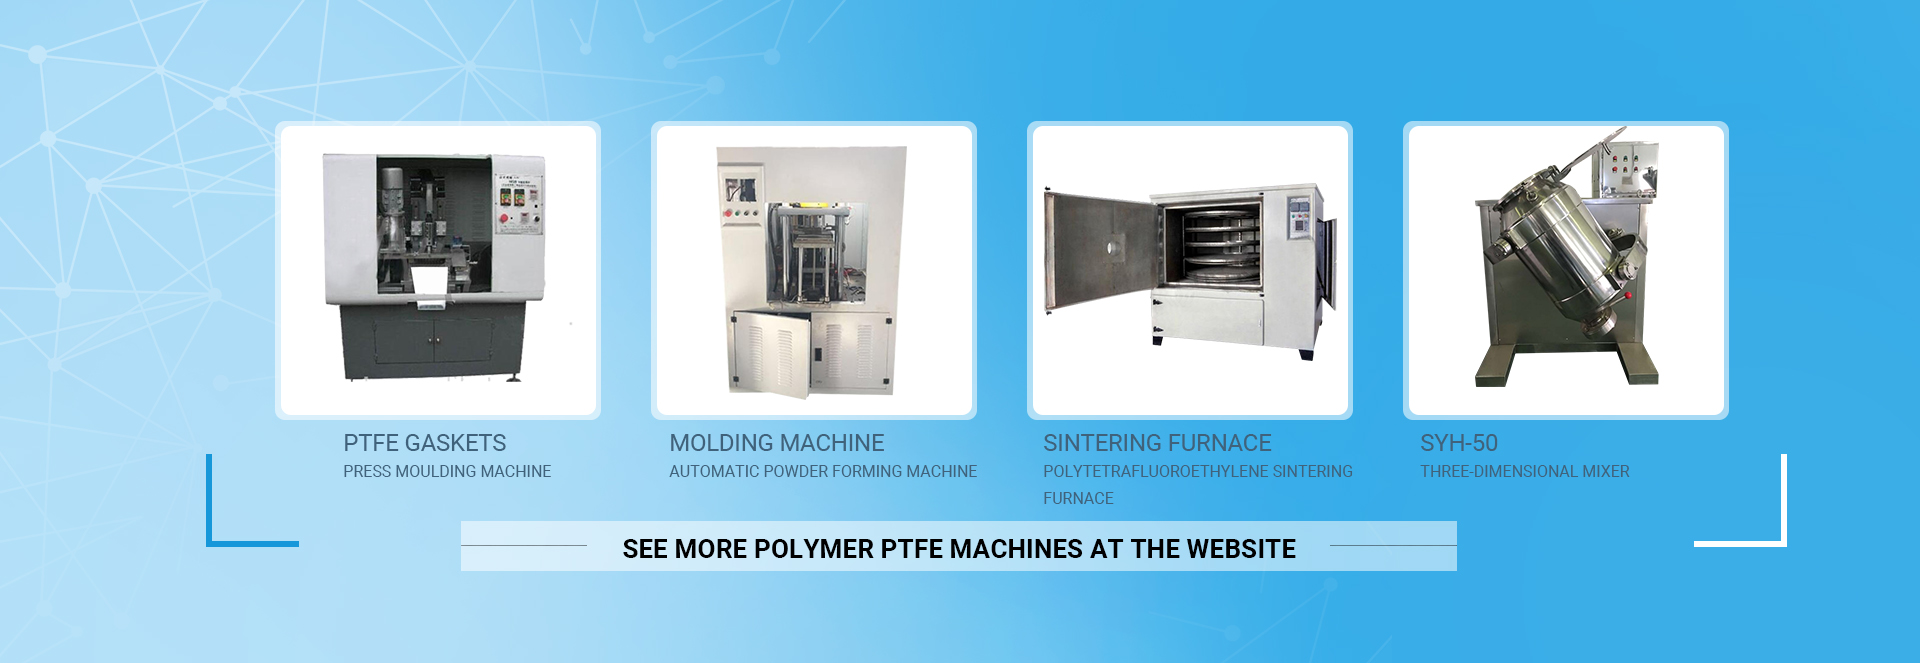
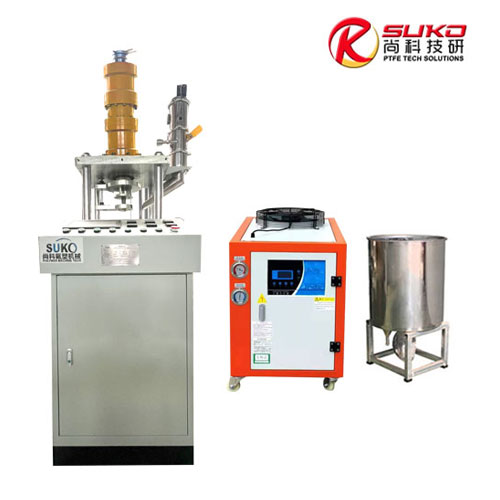
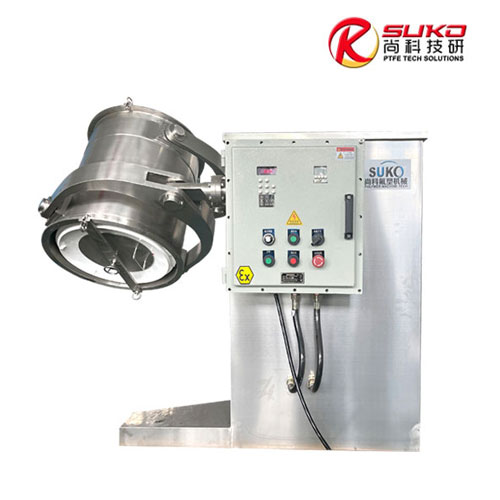
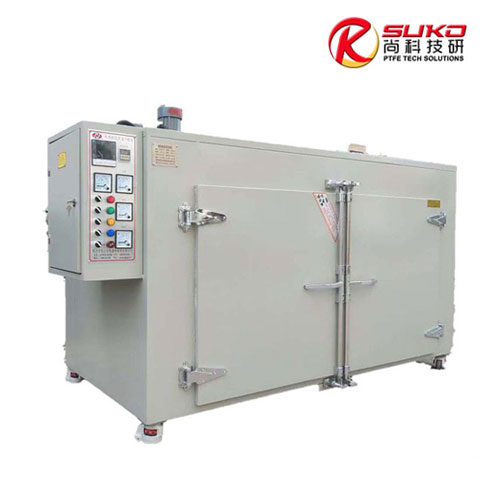
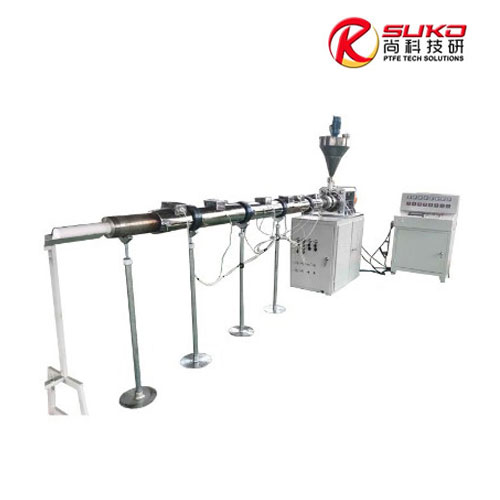
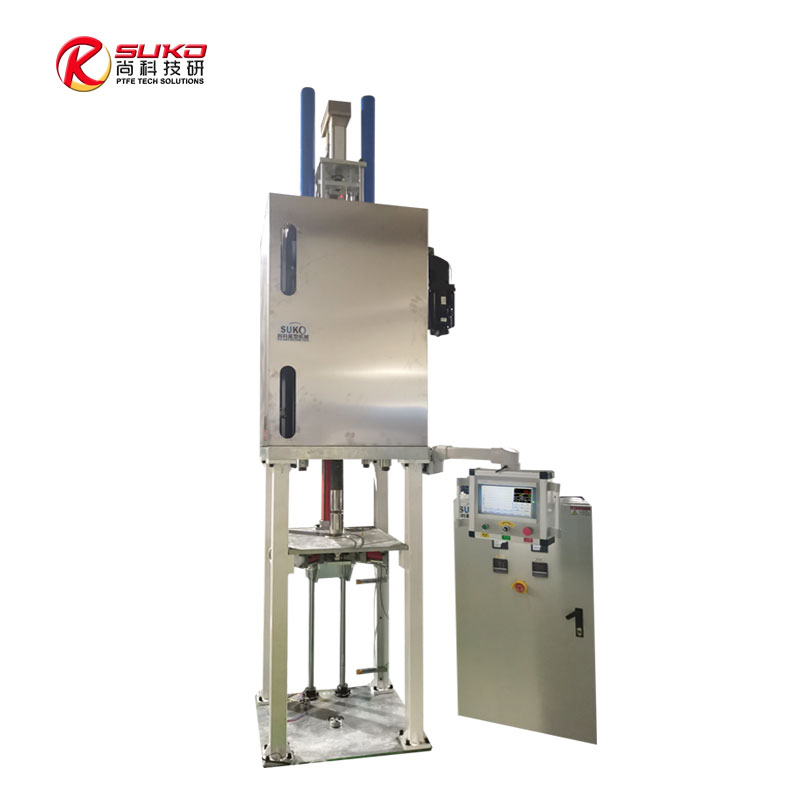
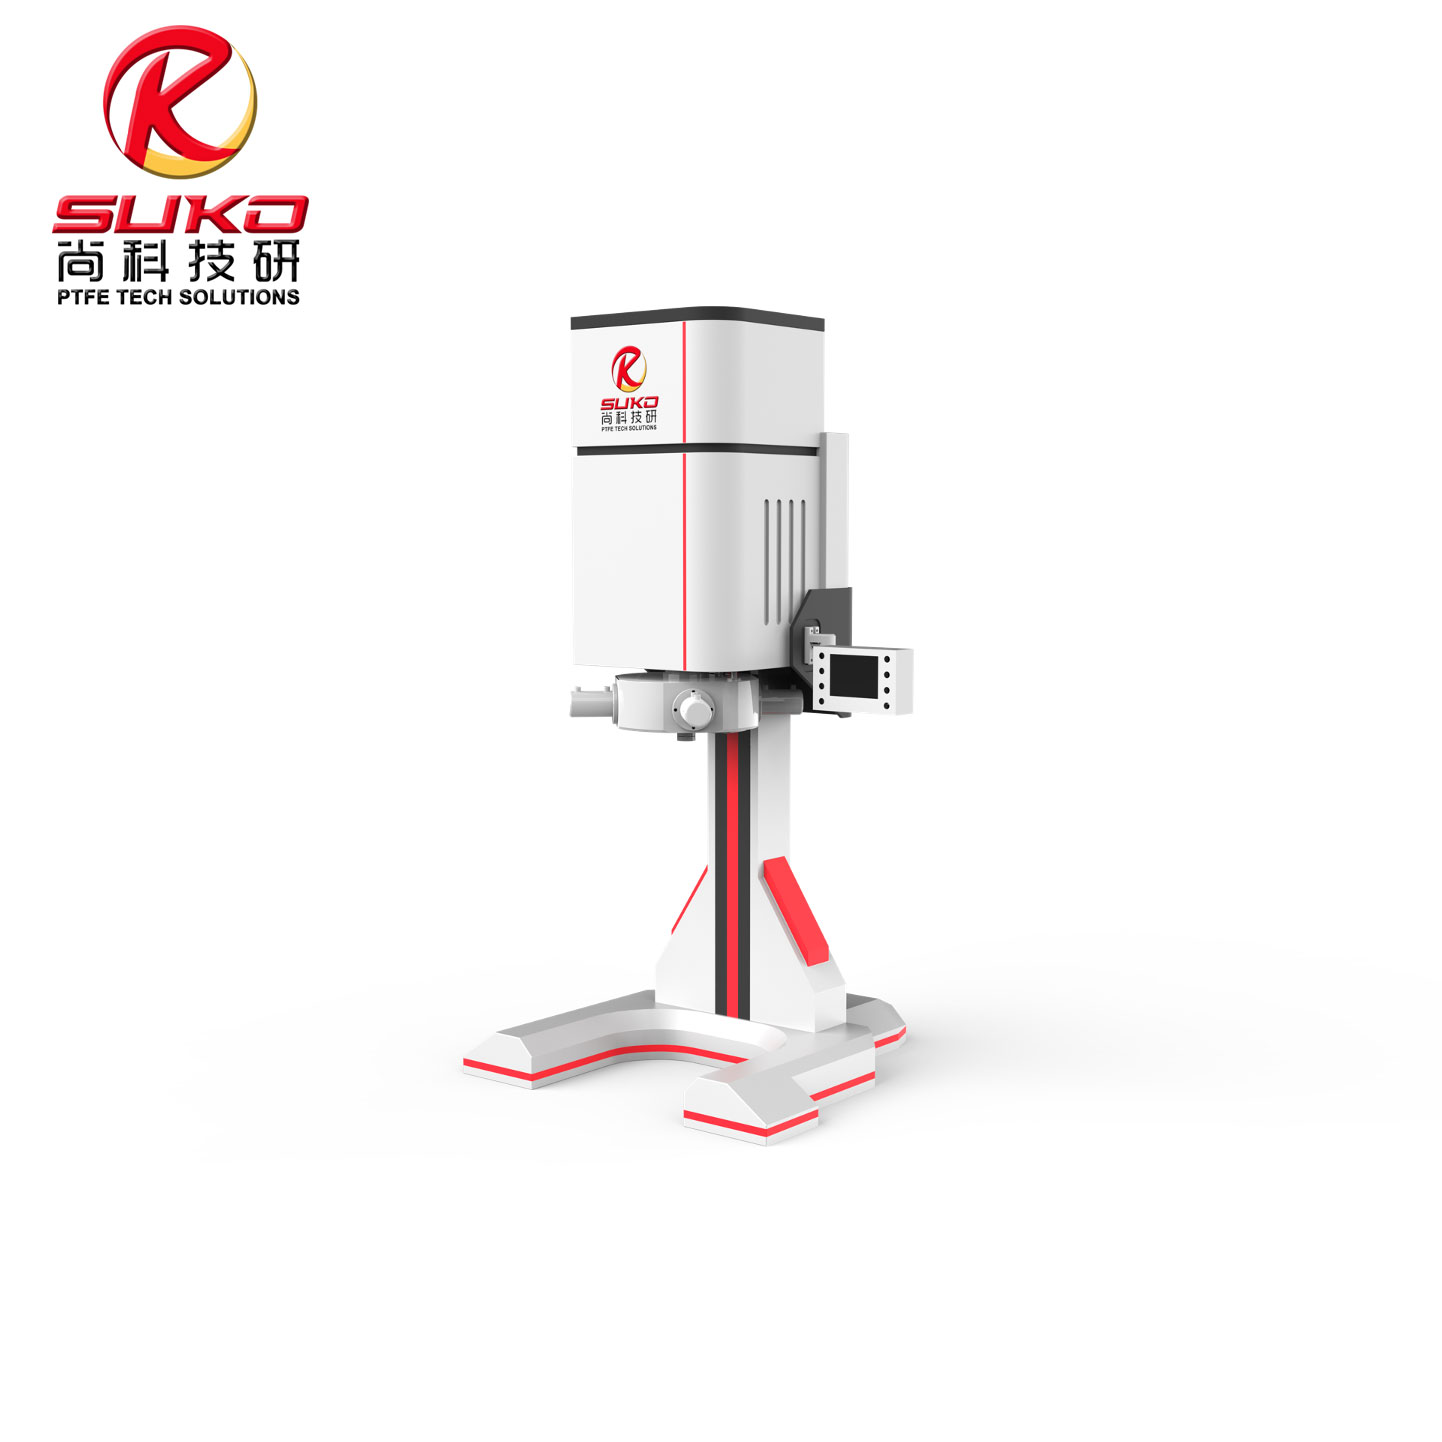
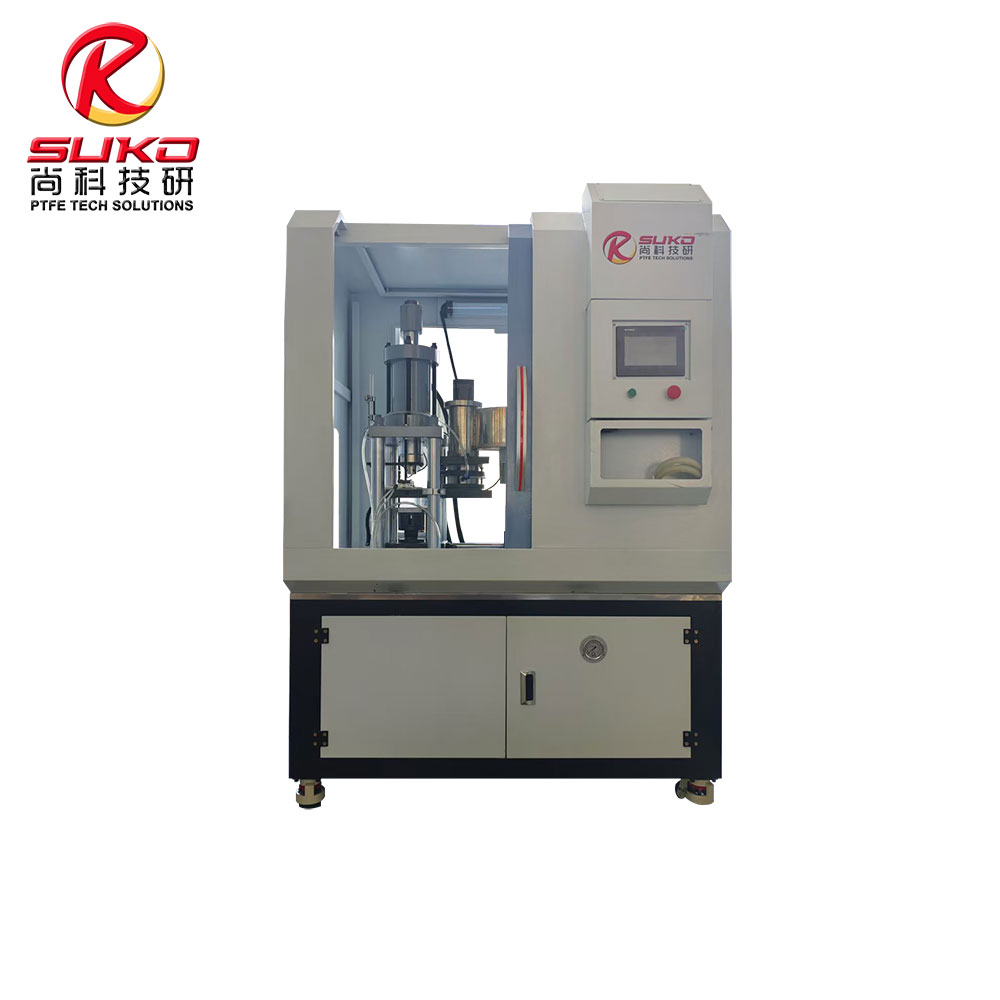
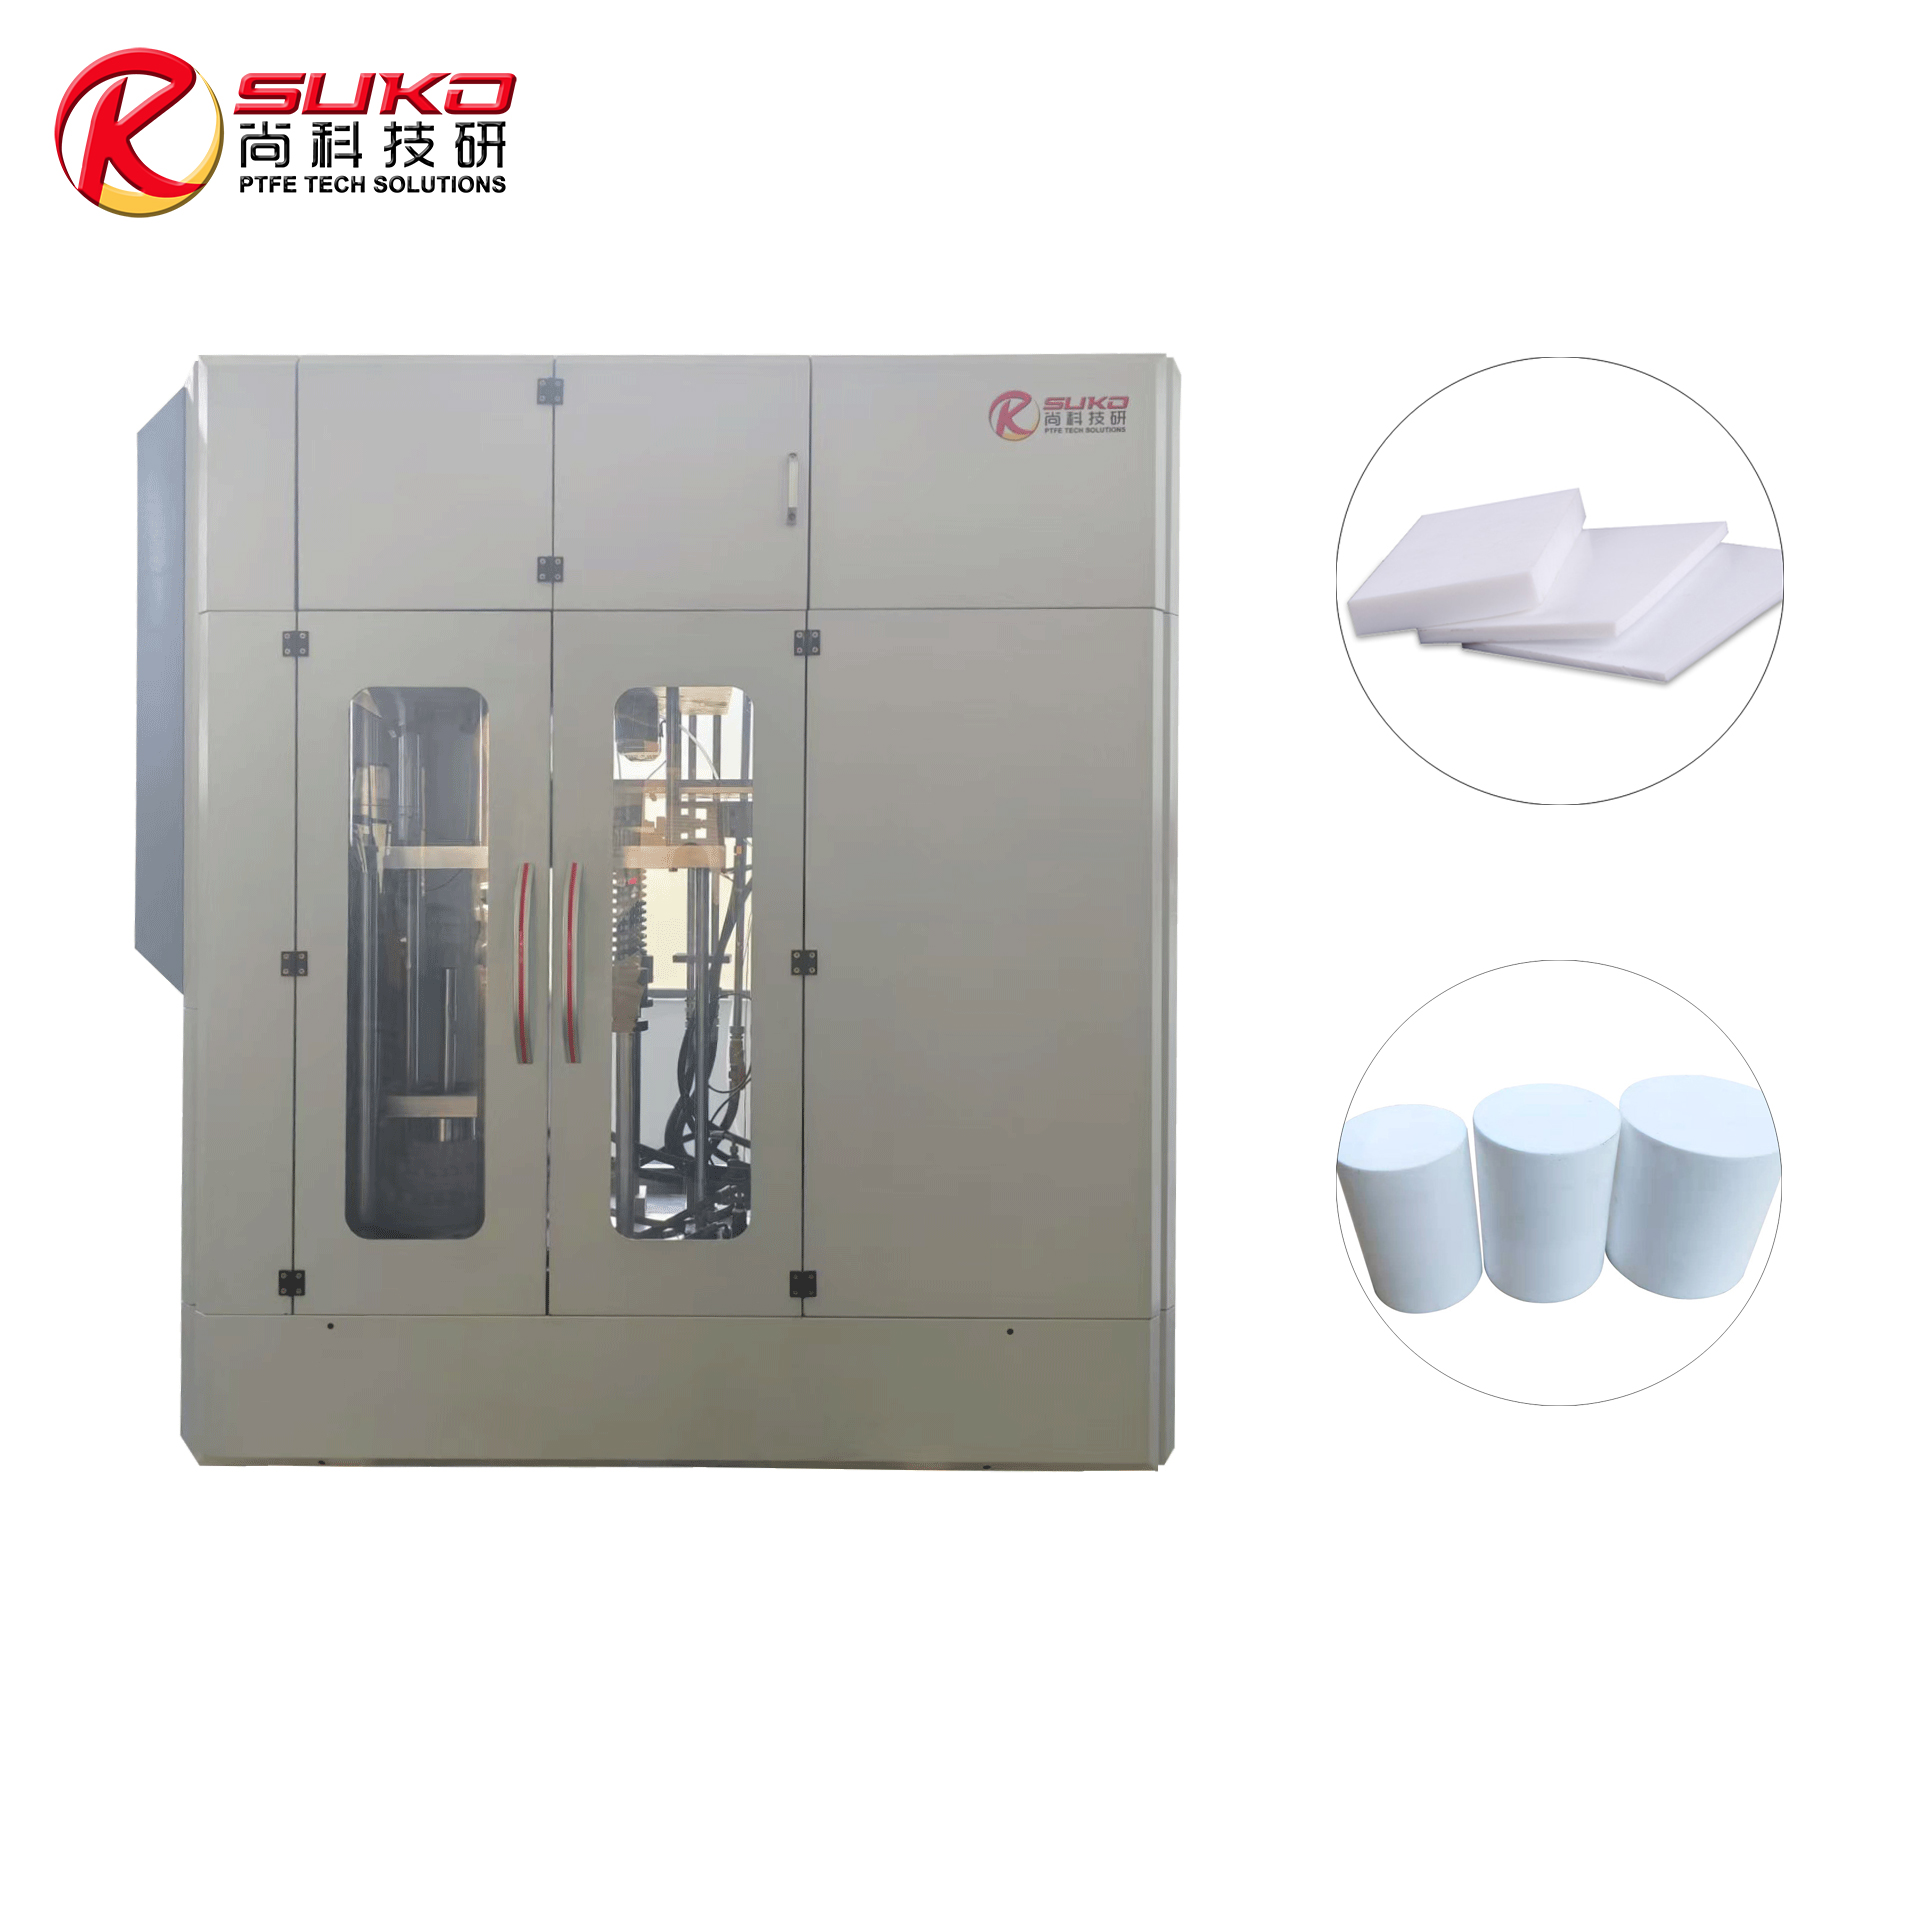
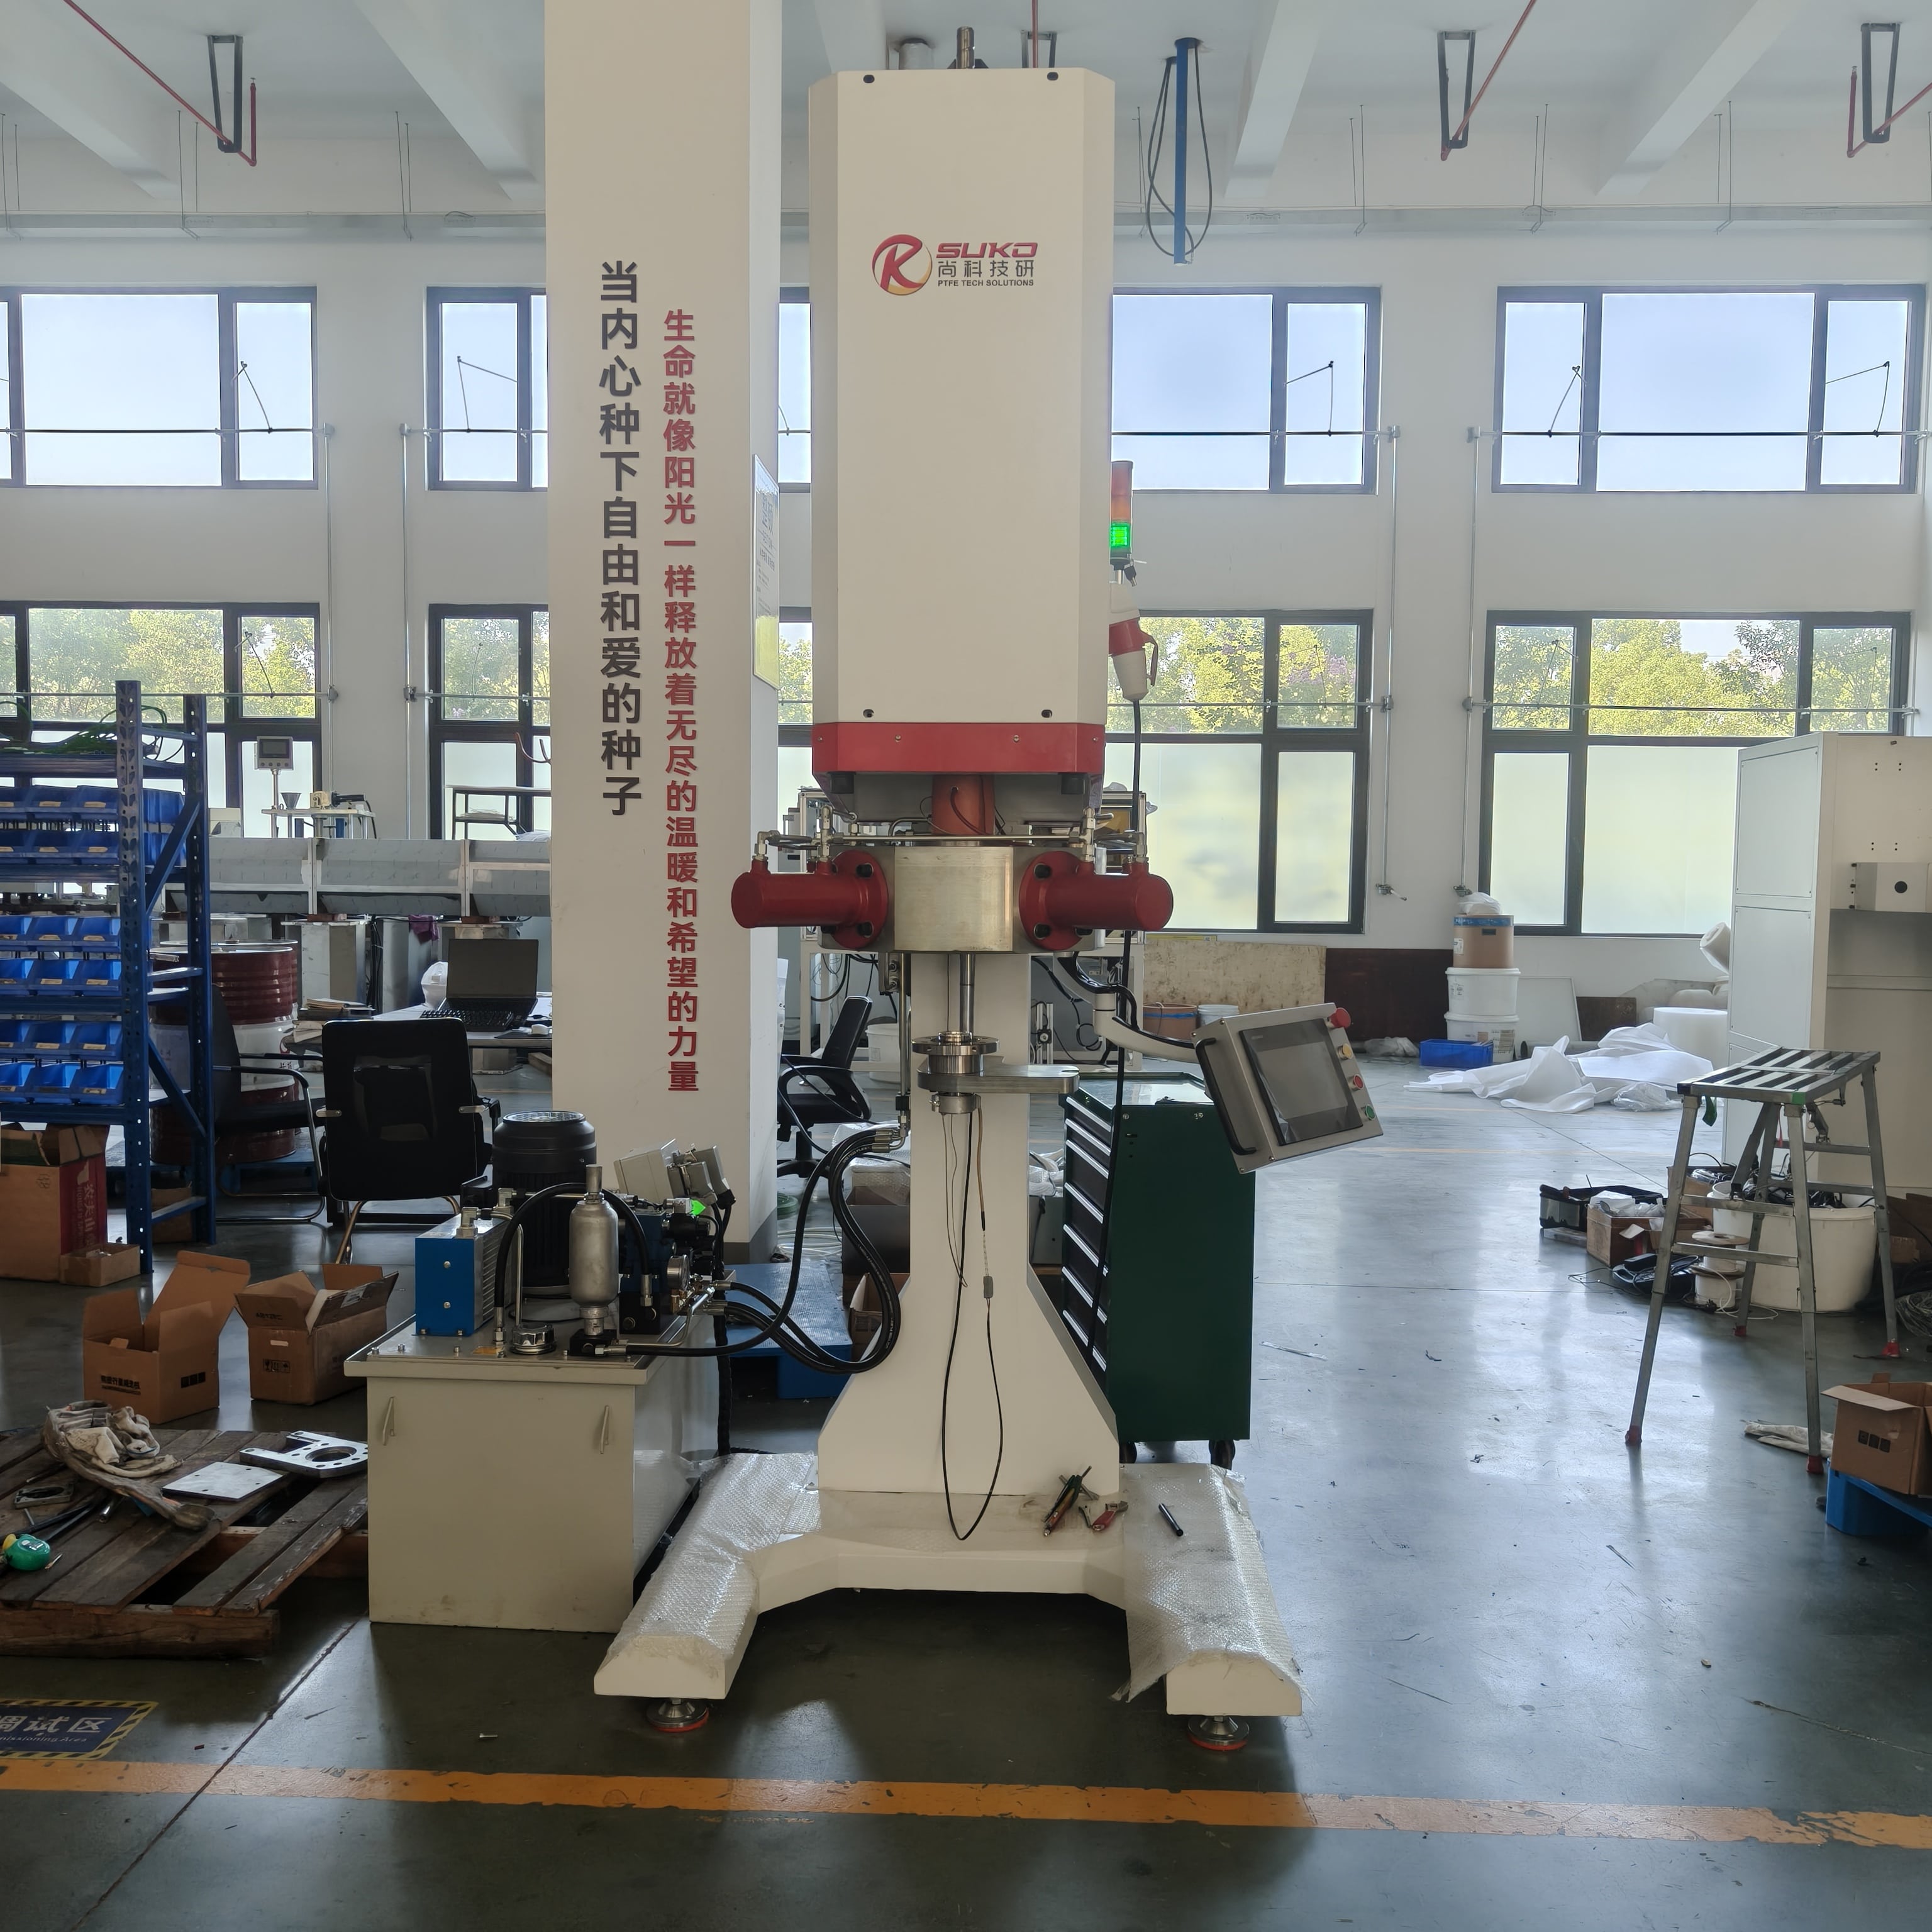
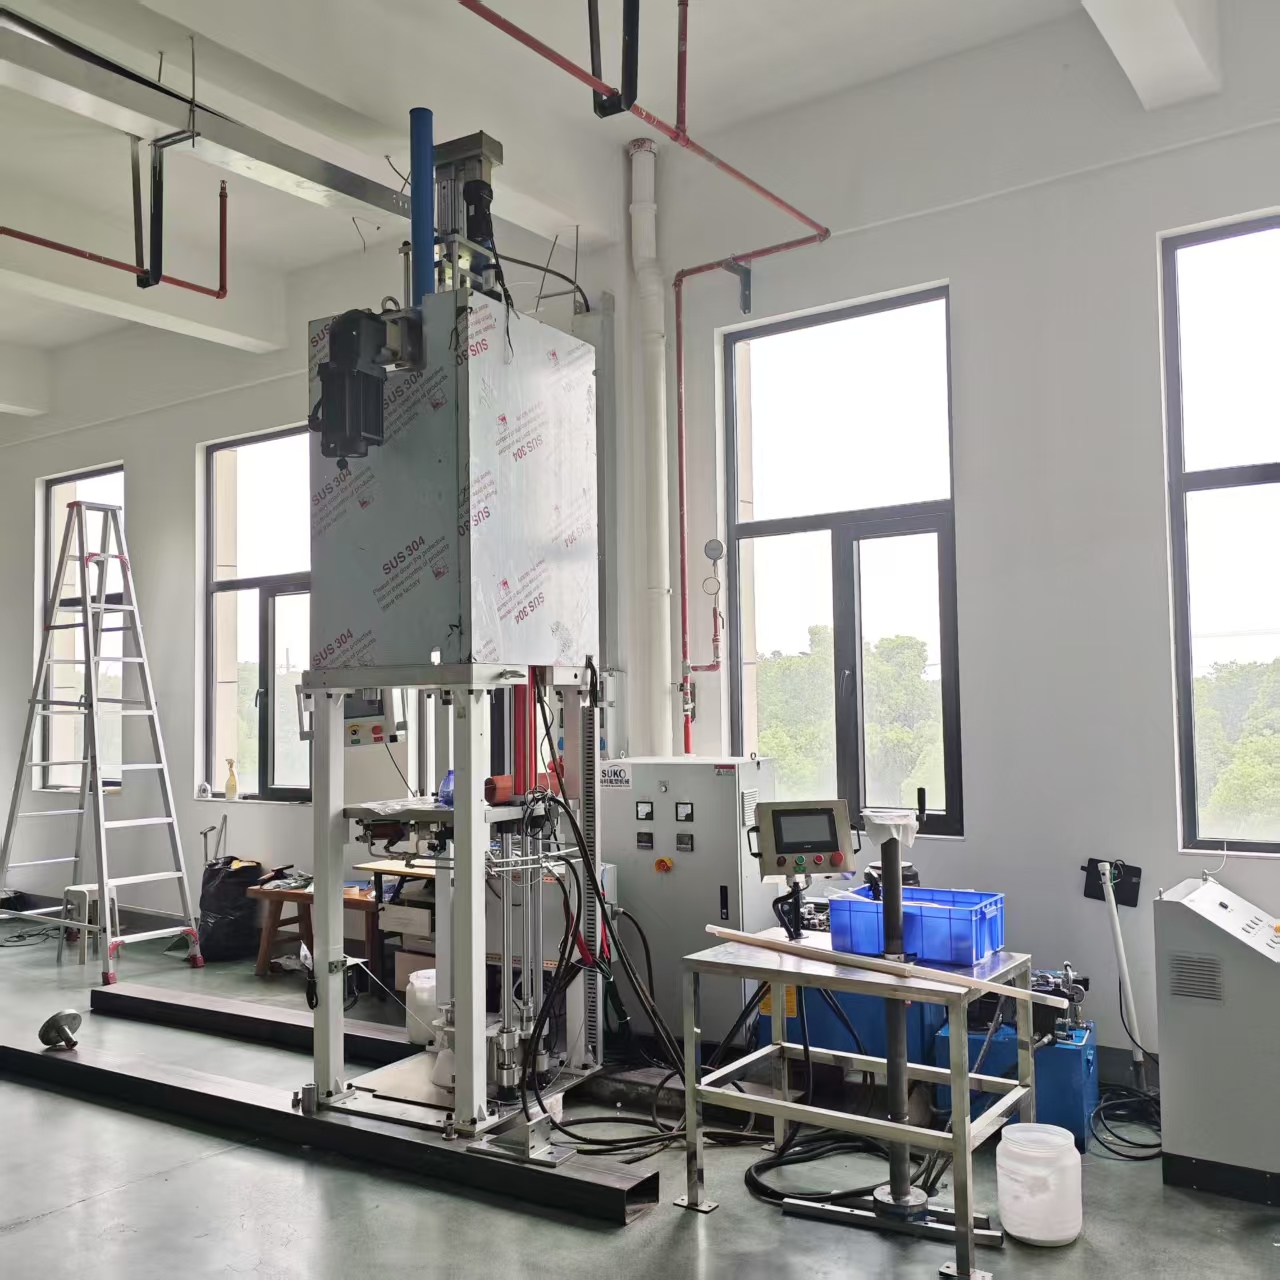
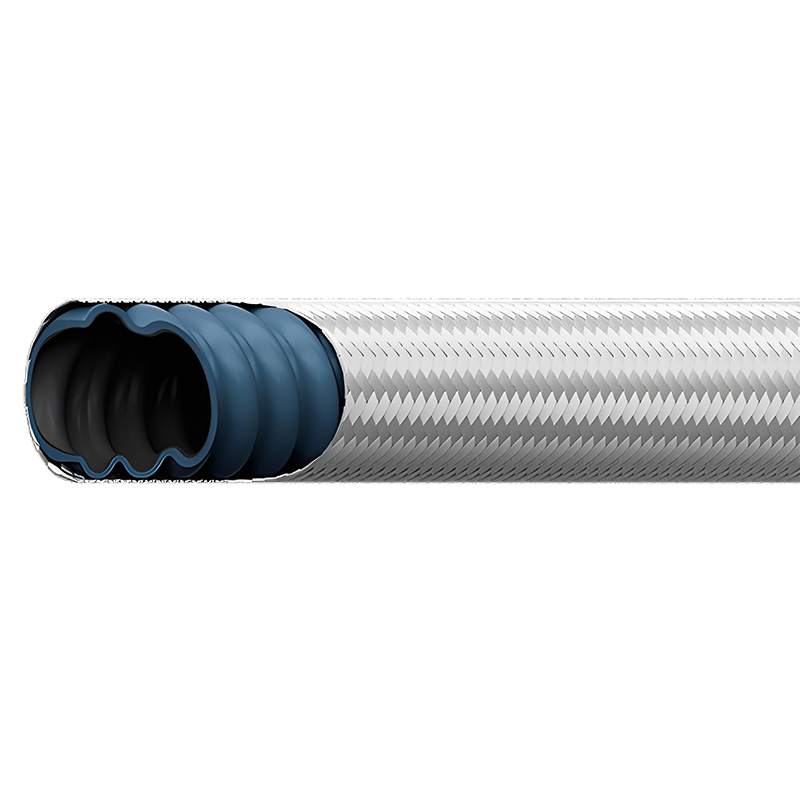
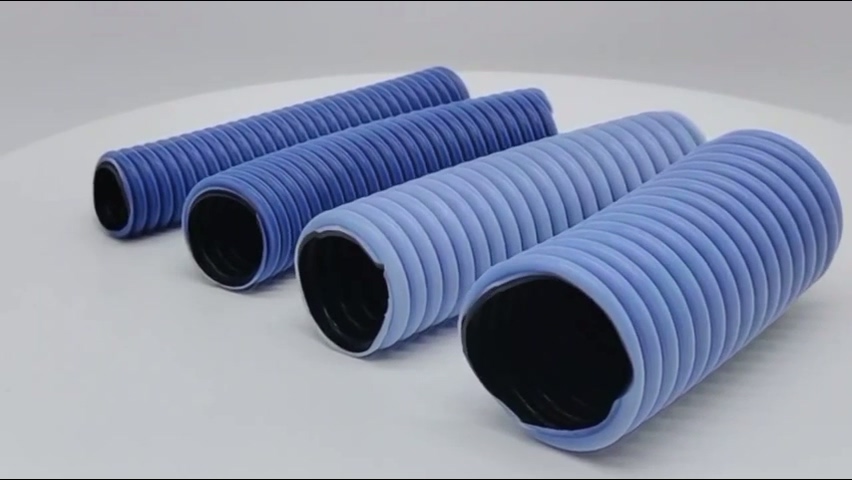
our product
Our products guarantee quality
WELCOME TO OUR COMPANY
SuKo Polymer Machine Tech Co., Ltd. is a expert Manufacturer and exporter of PTFE & UHMWPE machines and products having more than 12 years of experience. All the products are of standard quality and passed the CE, ISO & SGS certification. We have a good reputation in European, USA, Middle East & Asian markets. We believe in the customer satisfaction and providing them the goods in attractive prices. We produced plastic PTFE/UHMWPE machines had exported to many countries with well operation.Main machines: PTFE & UHMWPE Rod Ram Extruder, Tubing Ram Extrusion machine line, Gaskets Press Machine and Paste Extruder, Film Skiving Machine, Plastic Extrusion machine, PTFE Tubing & PTFE polymer Rod, PTFE sheets, films and PTFE polymer corrugated tubing…
-
10 YEARS+
PTFE Machine Experience
-
40 COUNTRIES+
Products
-
200 PCS+
Finished Projects
-
8 PEOPLE+
R&D Technicians
Our strengthst
Customer service, customer satisfaction
-

Advanced Technology
Our factory is unique for its advanced technology.
-

High Quality
Use high-efficiency and intelligent equipment to create high-quality products.
-

Professional After Sales
Best after service after site commissioning.
-

Our History
Established in 2006, we have over 13 years of manufacturing experience in PTFE/UHMWPE extrusion machinery and equipment for special applications in the field of plastics processing.
-

Company Status
Expert in PTFE/UHMWPE extrusion and products in various types, Suko stays forefront of the Tetrafluorohydrazine industry with technology innovation,profession and intelligence both domestically and abroad.
-

Company Future
To become the world’s first brand of fluoroplastic equipment within three years.Let all fluoroplastic factories use high-efficiency and intelligent equipment to create high-quality products.
our case
Typical Case Show
-
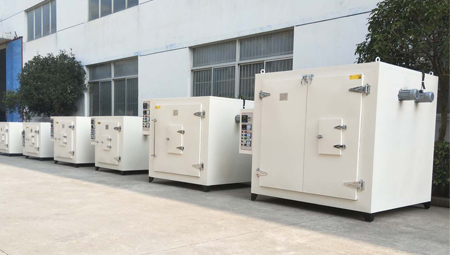
PTFE special oven ordered by Belgian customers
View More -
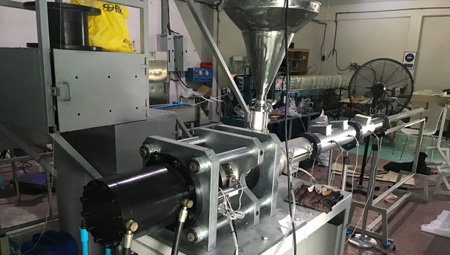
PFB150 Rod Extruder Had Been Shipped to Singapore Customer
View More -
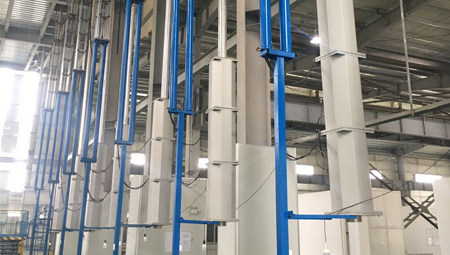
PTFE equipments and mold send to Russia
View More -
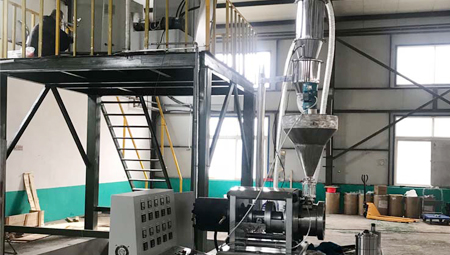
Site installation and commissioning for Hebei customer factory
View More -
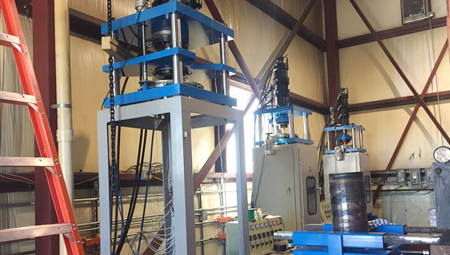
PTFE Plastic Extrusion Machine Install
View More -
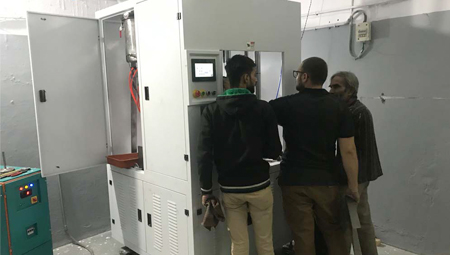
Bush automatic press ordered by Indian customers on site
View More


